Maintenance & Prevention
How to Clean KitchenAid Dishwasher Filter Screens — the Part Most People Don’t Know They Have
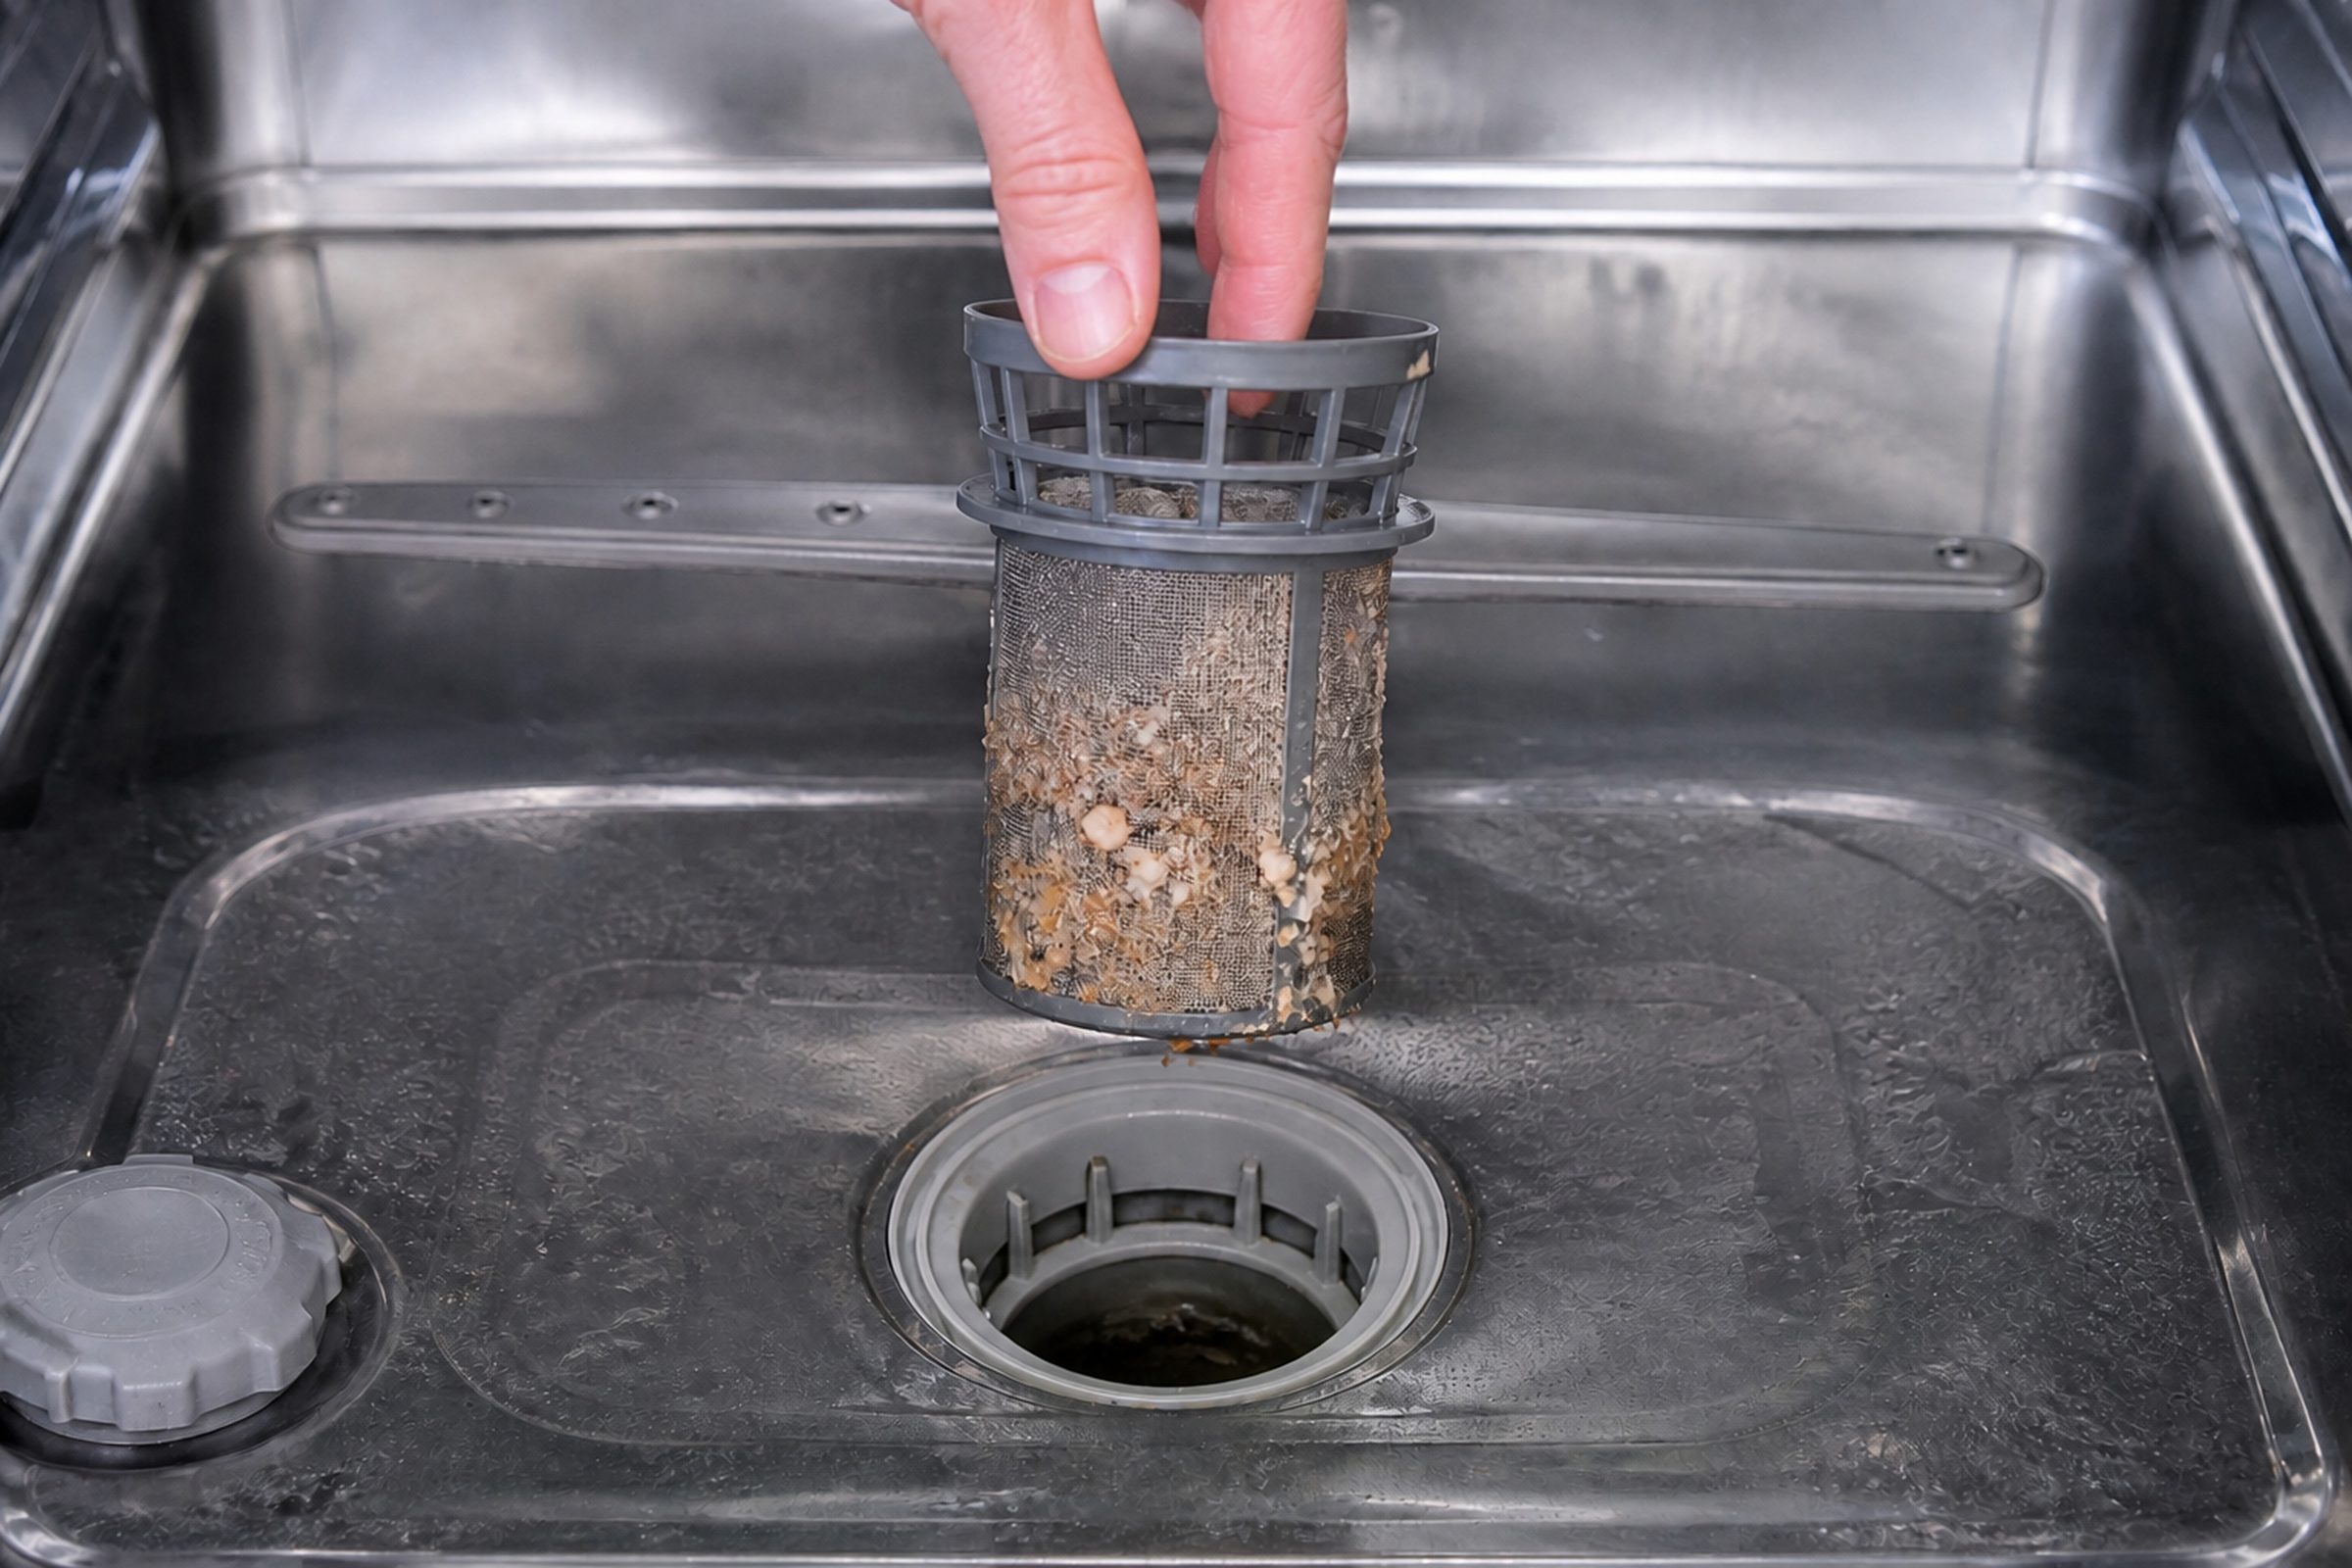
Your KitchenAid dishwasher has a filter and it comes out by hand. Pull the lower rack out and look at the floor of the tub: there is a raised cylinder, usually near the back, and a flat screen surrounding or beneath it. Turn the cylinder about a quarter turn counterclockwise and lift it straight out, then lift out the flat screen underneath. Rinse both under a warm tap, use a soft brush on the mesh, and never use a wire brush or anything abrasive. Put the screen back flat first, then drop the cylinder in and turn it clockwise until it locks. In South Florida water, every four to six weeks is realistic for a household that uses the machine daily, and a blocked filter shows up as gritty dishes and a film on glassware long before it ever produces an error.
The full guide
How to Clean KitchenAid Dishwasher Filter Screens — Yes, Yours Has One
A large share of the "it is not cleaning properly" calls we take on this make end at the kitchen sink rather than with a part on the van.
The reason is not that anybody has neglected the appliance. It is that a great many people arrived at this dishwasher from an older machine with a hard food disposer — a grinder that chopped debris and flushed it away, requiring nothing from the owner ever. Machines with a manual filter work differently: they catch the soil in a screen and hold it there until somebody takes it out and rinses it.
Nobody tells you this at delivery. So the filter quietly fills, the wash water starts recirculating through soil instead of past it, and the dishes come out gritty. It is one of the few appliance problems that is genuinely free to fix.
Where it is, and what you are looking for
Pull the lower rack all the way out and look at the floor of the tub.
You are looking for a raised cylinder, usually toward the back and near the center, with a slotted or mesh body and a small handle or grip on top. Around it or beneath it sits a flat screen that covers the rest of the sump opening.
Two parts. Both come out by hand. No tools, and nothing to disconnect.
Taking it out
The cylinder first. Turn it about a quarter turn counterclockwise and lift it straight up. There are usually arrows or a small lock symbol molded into the top showing which way. It frees with light pressure — if it will not move, the usual reason is that somebody is pulling upward instead of twisting.
Then the flat screen. Once the cylinder is gone, the flat screen lifts out by hand. Look at how it is sitting before you move it, because it seats one way only and it is easier to remember than to work out.
Underneath is the sump recess. Wipe it with a paper towel and see what is in there. Glass chips, olive pits, jar labels and bits of shell all collect at this point, and if the machine has been making a noise you did not like, this is frequently where the explanation is sitting.
Cleaning them
Warm running water, an old toothbrush and a drop of dish soap. That is the whole method.
Work the brush through the mesh from both sides. Grease combined with hard-water film builds a layer that rinsing alone does not lift, and it is what turns a filter from clean-looking to actually clean.
What not to use: a wire brush, a scouring pad, or any abrasive powder. Scratching the mesh makes it hold soil in the scratches, so an abrasively cleaned filter blocks faster than it did before.
If the filter has gone a long time and is genuinely caked, soak both parts in hot water with a little dish soap for fifteen minutes before you brush them.
Putting it back, which is the step that goes wrong
Reassembly is where the follow-up calls come from.
- The flat screen goes in first, lying flat in its recess with nothing proud.
- The cylinder drops into the center and turns clockwise until it stops.
- Confirm the lock. It should feel positive and it should not lift when you tug it gently.
A cylinder left unlocked or seated crooked lets soil bypass the filter completely, and on some machines it will rattle against the lower spray arm loudly enough to be alarming. If your dishwasher started behaving strangely immediately after a filter clean, this is very nearly always the reason — take it out and put it back deliberately.
How often, in this water
For a household running the machine daily, every four to six weeks is realistic. For lighter use, every couple of months.
Two things push it toward the shorter end. One is scraping less before loading — perfectly reasonable, but it puts more into the filter. The other is water hardness, which leaves film on the mesh in addition to the food soil.
Look at yours once and you will calibrate your own interval better than any general figure can.
What a blocked filter looks like before it becomes a problem
This is the useful part, because all of these are early and none of them requires anybody to be called.
- Gritty residue on the bottoms of bowls and cups — the classic first sign, and the one that reads as a wash failure.
- Dishes coming out with a fine film rather than visible debris.
- A smell when you open the door on a machine that has been standing.
- Water draining more slowly at the end of a cycle, or a small amount standing after it finishes.
- A noise change — a scraping or rattle from a spray arm catching something the filter should have held.
None of that is an error code and none of it will produce one for a long time. By the time a machine reports a drain condition, the filter has usually been asking for attention for months.
The deep clean, and what the manufacturer actually recommends
Two or three times a year, on top of the regular filter rinse:
- Wipe the door edges and the gasket. Very little water reaches these surfaces during a cycle, so soil and film sit there undisturbed. This is where most dishwasher smells actually live.
- Check the spray arm holes. Hold each arm and spin it; a seed or a label fragment in one hole leaves a wedge of the rack washing badly, which people read as a pump problem.
- Run an empty hot cycle with a dishwasher cleaner, or with white vinegar. Both are remedies the manufacturer itself names for hard-water spotting and film.
Hard water, and why this page is written for South Florida
Groundwater from the Biscayne Aquifer is hard enough that Miami-Dade and Broward both soften it at the treatment plant before it reaches your house. That is worth knowing because it means the water arriving at your dishwasher has already been treated, and it varies by which plant serves you.
The manufacturer's own manual recommends a water softener at 15 grains or more and classifies 7 to 12 grains as medium to hard. Published figures for this region from third parties disagree with each other by a factor of five, so we are not going to quote one — check your own utility's number rather than trusting a softener sales page.
What hard water does to a dishwasher is film glassware, which people read as a wash failure, and leave scale on the heater. The maker's own answers are to raise the rinse-aid setting — the factory setting is around 2 or 3 and it adjusts upward — to use tablets or packs rather than gel, and to run a cleaner periodically. None of that is a breakdown, and all of it is preventable.
When it is genuinely not the filter
If the filter was clean when you took it out, look at three things before you call: whether the machine is filling fully, whether the water arriving is actually hot, and whether the lower spray arm turns freely. A dishwasher that fills slowly runs long and washes badly without ever reporting anything.
And if the Clean light is blinking in a repeating pattern, that is a code rather than a wash complaint — count both bursts and write them down before you cancel the cycle, because canceling erases it.
Independent KitchenAid dishwasher repair and maintenance across Miami-Dade, Broward and Palm Beach. We are an independent repair company and are not affiliated with, authorized by or endorsed by any manufacturer.
If it turns out to be a repair
What this leads to, and what it costs
Every job on this site is priced the same way: an on-site diagnostic first, the figure agreed in writing before anybody starts.
-
Integrated control · Front control · Third rack · ProDry · 24" · 39–44 dBA Dishwashers
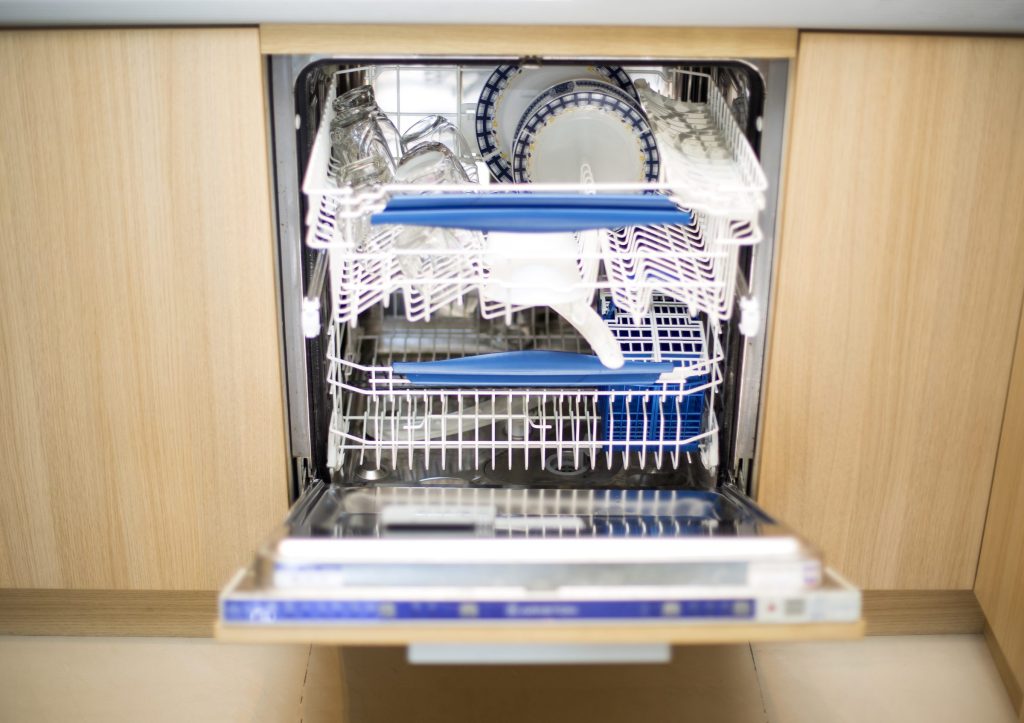
The appliance this name means in a kitchen, and the one that tells you the most before anybody arrives. A KitchenAid dishwasher with no display still reports its code — it flashes it on the Clean light, in two bursts, and those two numbers are a diagnosis you can read from across the room before anybody opens anything.
- The Clean light blinking a set number of times, over and over
- A cycle that finishes with water still standing in the tub
- Dishes coming out gritty, or coming out wet
-
from $165 Appliance maintenance
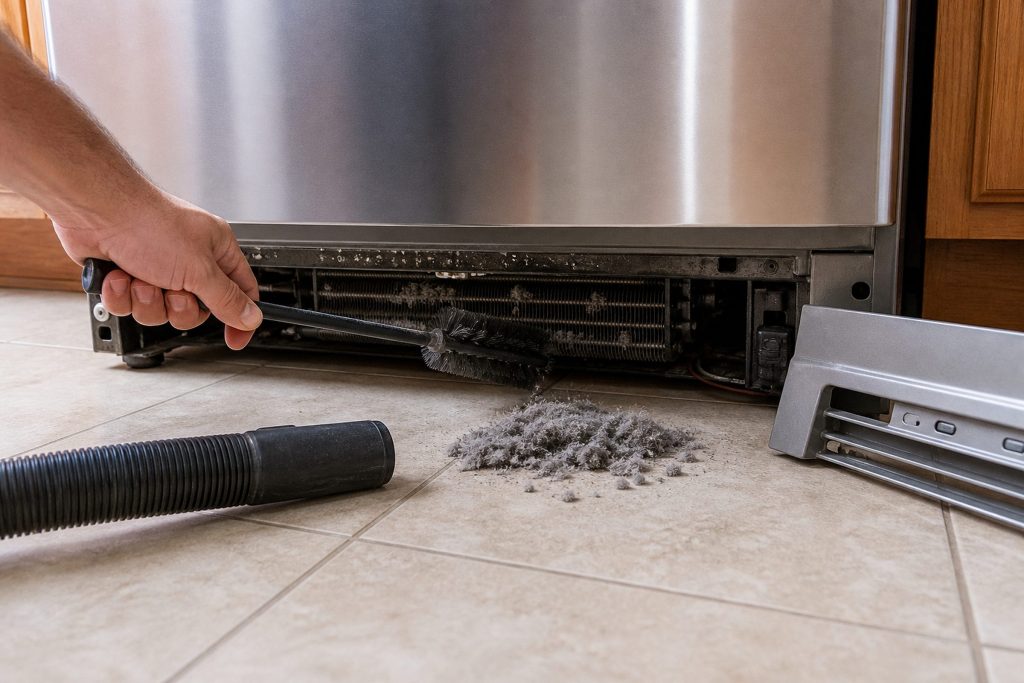
A planned visit rather than an emergency one: filters, drains, coils, seals and ducts on whichever appliances you want looked at, in one appointment. Most of the expensive repairs on this list are prevented by an hour spent on this.
- Several appliances in one visit rather than one call each
- Filters, drains, coils, seals and ducts
- A written note of anything worth watching

Questions people ask about this
Do KitchenAid dishwashers have a filter?
Yes, and it is a manual filter that you take out and rinse rather than a hard food disposer that grinds debris away. That is the source of most of the confusion — anyone who moved from a machine with a disposer never had to touch a filter and reasonably assumes this one is the same. It is not, and a machine that has never had its filter out is often several years into collecting soil.
How often should I clean my KitchenAid dishwasher filter?
Every four to six weeks for a household running it daily, and every couple of months for lighter use. Two things push it toward the shorter end: scraping less before loading, and hard water, which leaves a film on the mesh that plain rinsing does not always remove. Look at it once and you will know your own interval — a filter that is visibly clean after a month can wait longer.
How do I deep clean my KitchenAid dishwasher?
Take the filter out and clean it first, because everything else is cosmetic by comparison. Then wipe the door edges and the gasket where soil and film collect out of the water's reach, check the spray arm holes for seeds and labels, and run an empty hot cycle with a dishwasher cleaner or a white vinegar rinse — both are remedies the maker itself names for hard-water film. Two or three times a year is plenty on top of the regular filter rinse.
My KitchenAid dishwasher is not working properly after I cleaned the filter.
Almost always the filter is not seated. The flat screen goes back first and lies flat in its recess, then the cylinder drops in and turns clockwise until it locks. If the cylinder is sitting proud or was never locked, soil bypasses the filter and the assembly can rattle audibly against the spray arm. Take it out and put it back deliberately rather than forcing anything.
Is this the same as the water filter or the range hood filter?
No — three different appliances and three different parts. The refrigerator water filter is a cartridge that pushes in and turns, sold as KAD1 through KAD6 and as everydrop EDR1 through EDR6, and the panel light that tracks it is a counter rather than a sensor. A range hood filter is a metal baffle or mesh panel that slides out and goes in the dishwasher itself. Neither has anything to do with the dishwasher's own tub filter.
Maintenance & Prevention
More guides like this one
-
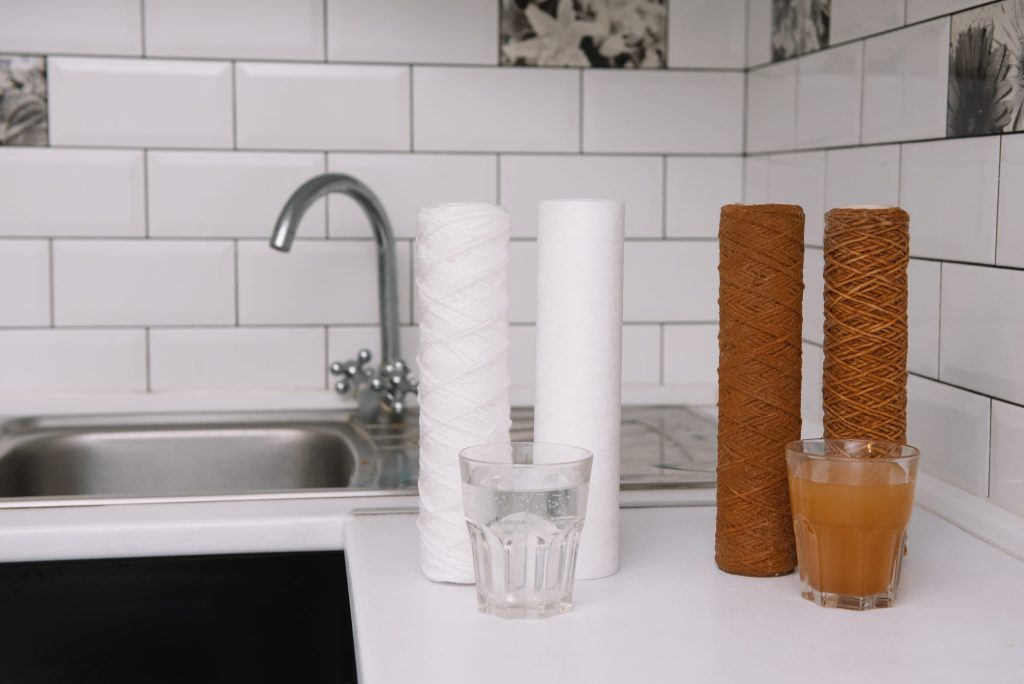
How to Reset KitchenAid Refrigerator Water Filter Light, and Which Cartridge Is Yours
The light is a counter, not a sensor. It is not reporting anything about your water, and it will keep asking until somebody tells it the cartridge was changed.
Read more -
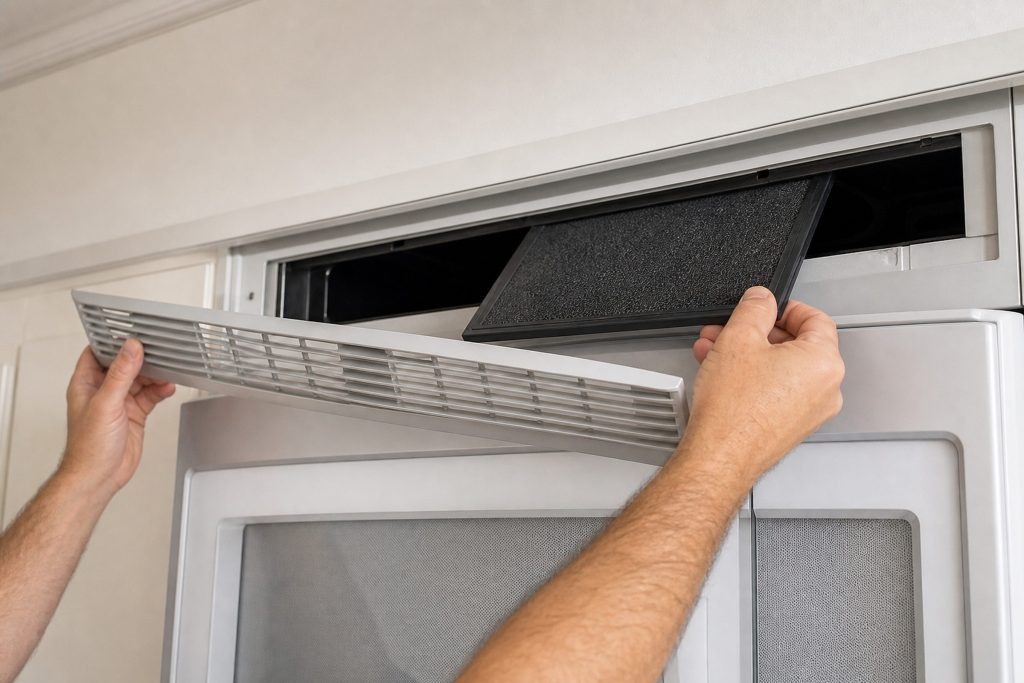
KitchenAid Microwave Charcoal Filter Replacement: The Part Behind the Grille
An over-the-range microwave is two appliances in one box. If it recirculates rather than ducting outside, there is a consumable filter behind the top grille that most owners have never seen.
Read more -
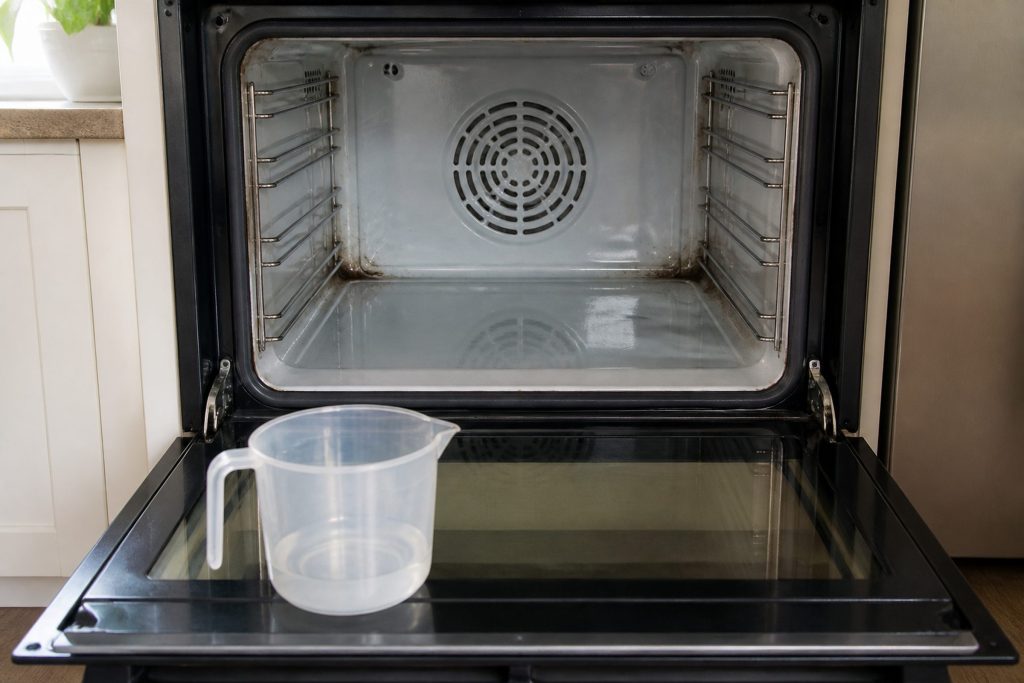
KitchenAid Oven AquaLift Self Clean or High Heat: Which One Do You Have?
One of these cycles runs at low temperature with water on the cavity floor and carries none of the risk of the other. It also will not shift what the other shifts, which is why people decide it is broken.
Read more
Tell us the model number and what it is doing.
This article is based on:
- Official manufacturer documentation
- Internal repair procedures
- Technician repair history
- Company quality standards