Common Problems
KitchenAid Dishwasher Upper Rack Adjuster Replacement: When One Side Keeps Dropping
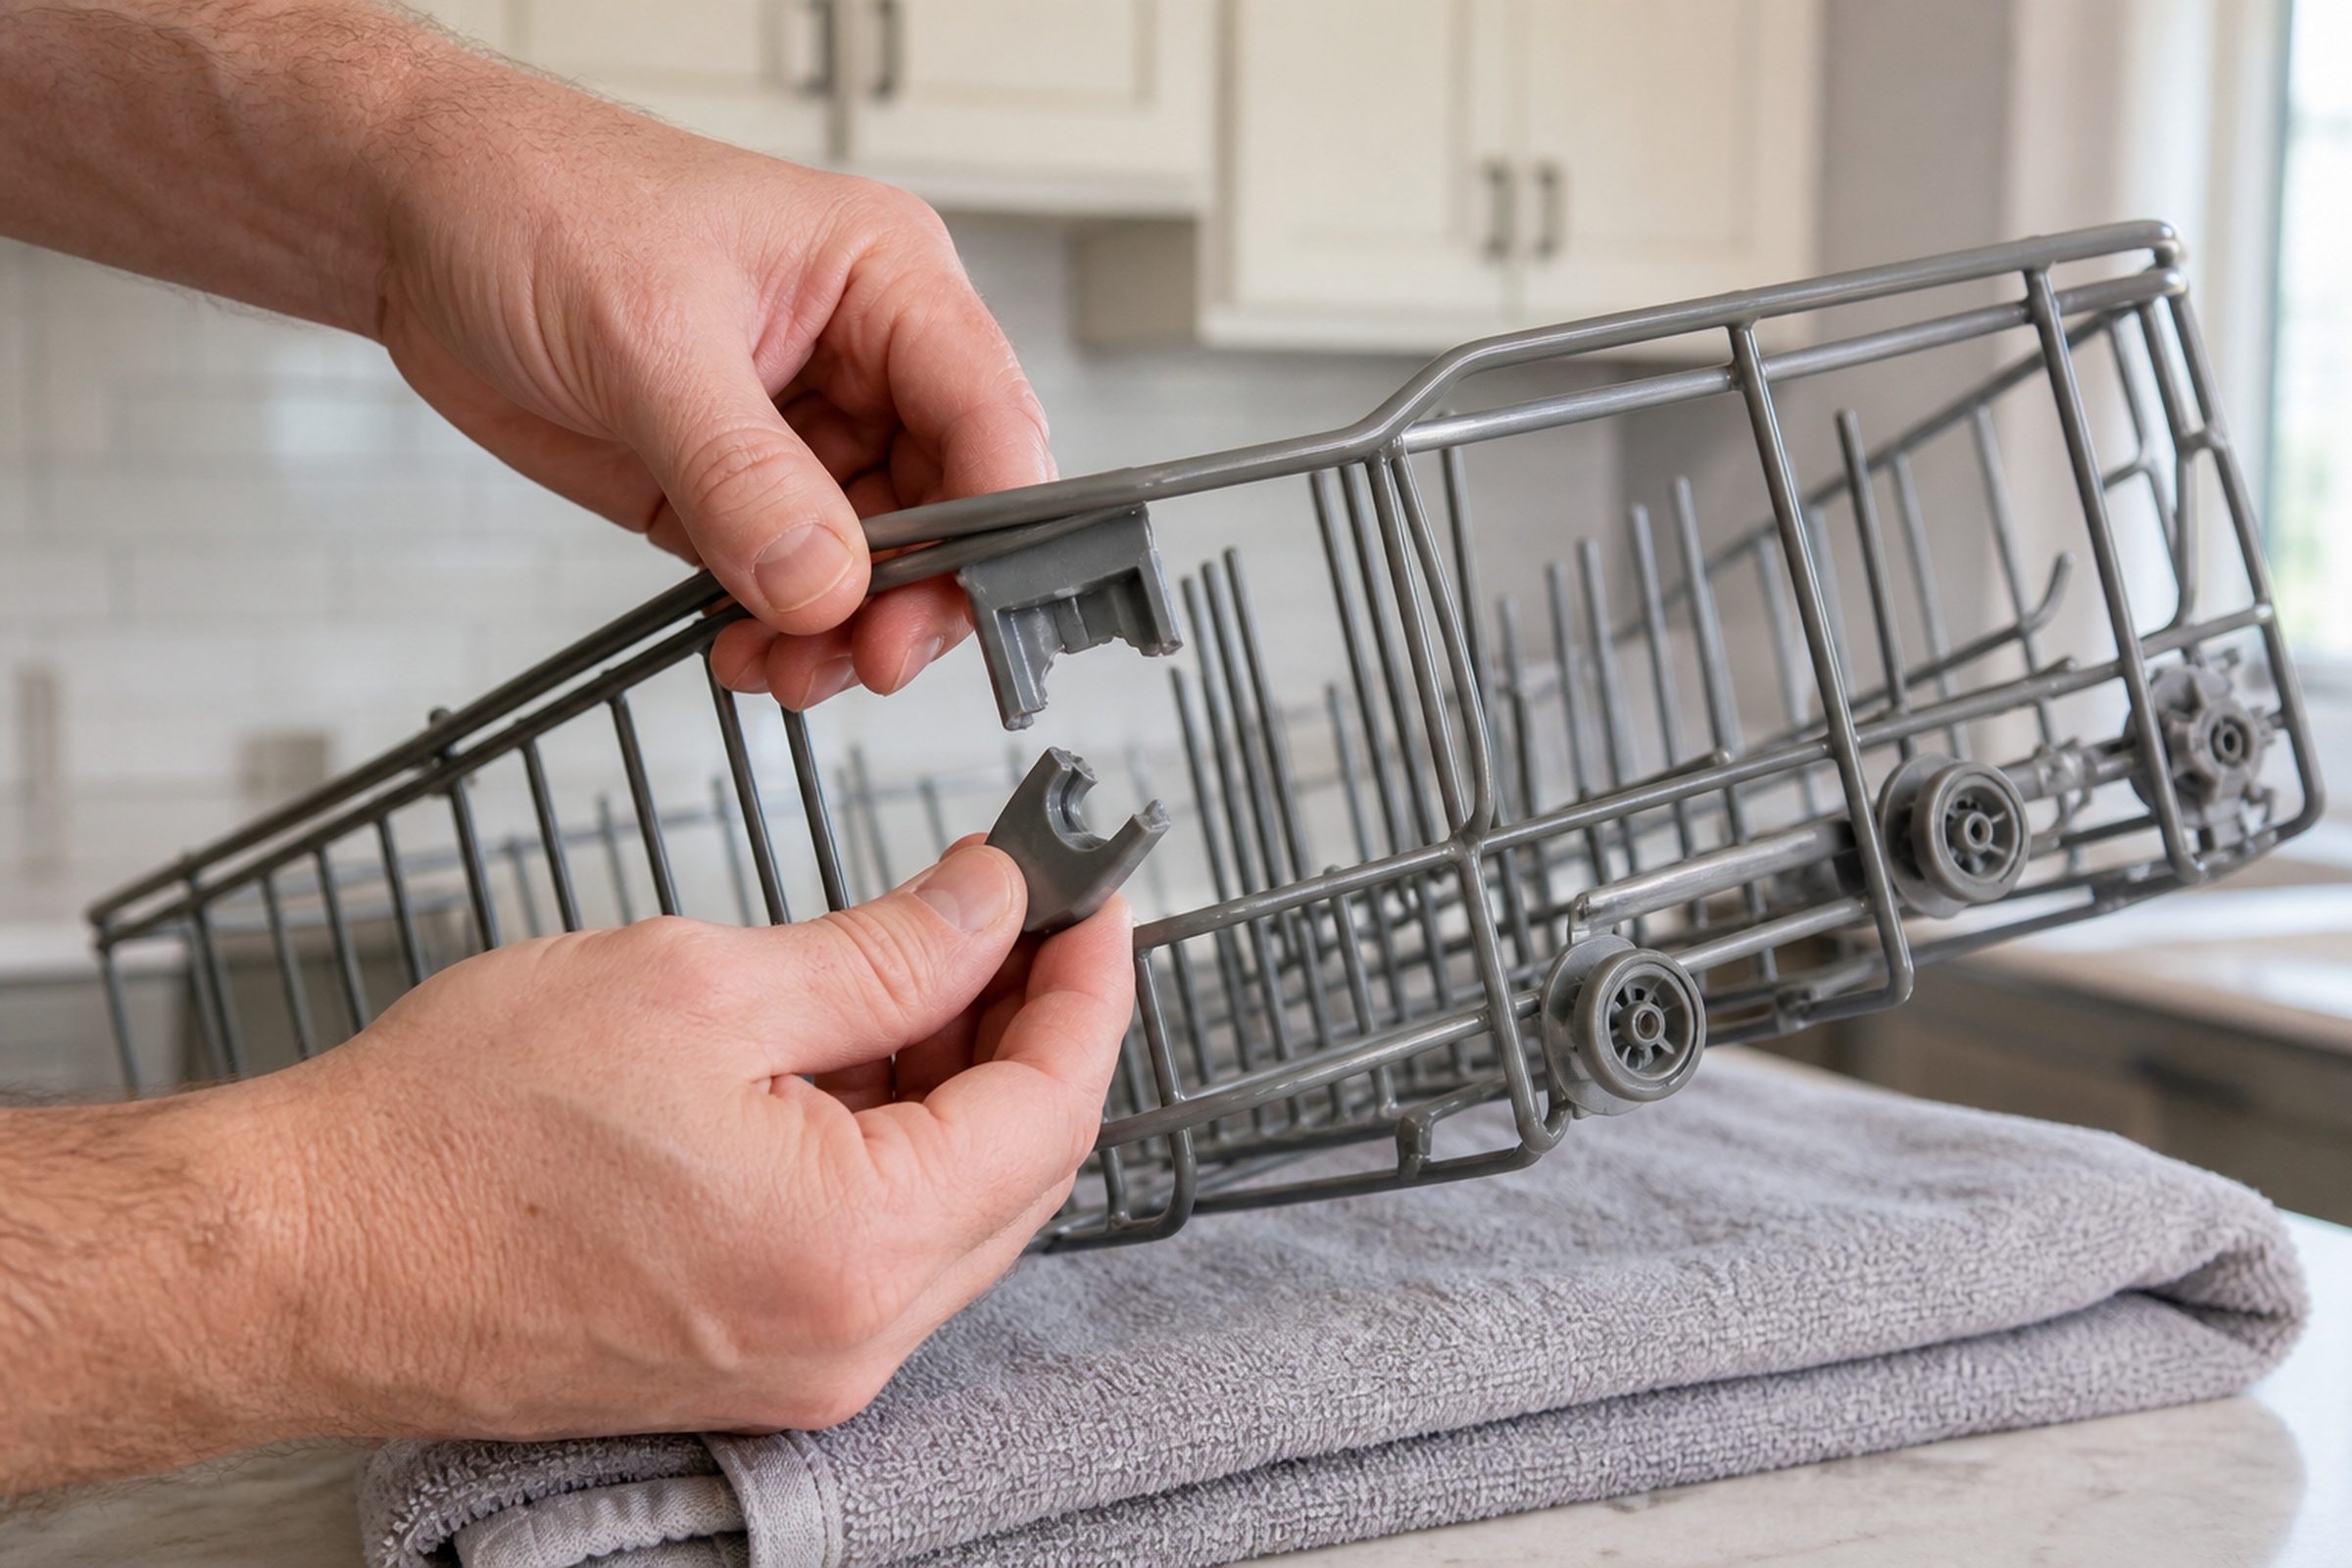
When the upper rack of a KitchenAid dishwasher drops on one side, the part that has broken is almost always the rack adjuster — the small plastic assembly at each side of the rack that carries its wheels and sets its height. The wheel axles on these become brittle from years of wash-cycle heat and snap, and the rack then rides on the rail on one side instead of rolling on it. It is a replacement rather than a repair, both adjusters should be changed together even when only one has broken, and it is a job many owners can do in twenty minutes with no tools beyond a screwdriver. The one part that has to be right is the part number, which is model-specific.
The full guide
KitchenAid dishwasher upper rack adjuster replacement, and why the rack tilts
You load the top rack, push it in, and the right-hand side drops half an inch. Glasses lean. Something falls over during the cycle. Eventually the rack stops rolling on that side altogether and drags along the rail instead.
The rack itself is almost never the problem. The part that has broken is the rack adjuster — the small plastic assembly clipped to each side of the upper rack, carrying the wheels that ride the rails and setting the rack's height so you can make room for a stockpot underneath.
This is one of the very few things on this make that is genuinely its own, rather than shared with the rest of the corporate group. It is a known weak point: the wheel axles on these adjusters go brittle from years of wash-cycle heat and snap. You can see it in what people search for — replacement adjusters, adjuster clips, rack wheels and track assemblies are among the most-looked-for KitchenAid dishwasher parts there are, which is not the pattern of a component that only fails when somebody loads the rack badly. So: not something you caused.
How to be sure that is what you are looking at
Pull the upper rack all the way out until it stops and look at both ends of both sides.
A broken adjuster shows as one of three things: a wheel missing entirely, a wheel still present but spinning loose because the axle behind it has snapped, or one assembly visibly sitting at a different height from the one opposite it.
A rail problem looks different — the rack rolls normally but comes off the end, or the rail itself is bent or has come loose from the tub wall. That is a different repair.
A rack that was never level and has always been that way is usually two adjusters set to different positions, which is a five-second fix and worth ruling out before you order anything.
Getting the right part, which is the only hard bit
The fitting is easy. The ordering is where this job goes wrong.
Adjusters are model-specific on this make. The same brand, the same era and a very similar-looking rack can take a different assembly, and an adjuster that is close but not right will either not clip on or will not hold the rack's weight once loaded.
The model number is on the sticker along the edge of the door, visible only when the door is open — usually on the right-hand side edge. Photograph it. Order against that number rather than against a picture that looks like yours.
Buy them in pairs. See the FAQ above for why, but briefly: the second one is the same age as the first.
Fitting them
Empty the tub and open the door fully. Everything you are about to unclip is over an open sump, and a dropped screw goes exactly where you would expect.
Release the rack stops at the far end of each rail — on most of these a clip or a tab that rotates out of the way — and lift the rack forward and out. It is lighter than it looks and easier with two hands on the front corners.
Look at how the old adjuster sits before you remove it. These are handed, left and right, and it is much easier to note the orientation now than to work it out from a bag of new parts later.
Unclip or unscrew each old assembly and fit the new one the same way round. Keep the old parts on the counter until both new ones are on, purely as a reference.
Refit the rack, then set both sides to the same position. Every adjuster has height settings — this is the feature that lets the rack move up for tall items below or down for tall items above. Both sides identical, every time. Then roll the rack in and out several times empty, and check it sits square before you trust it with glassware.
Twenty minutes, a screwdriver, and no water disconnected. It is genuinely one of the few repairs on this appliance we would encourage an owner to take on.
What makes the new ones last longer than the old ones
Nothing you do will make a plastic axle immortal inside a hot dishwasher, but two habits genuinely extend the life of the replacement.
Do not use the rack as a handle. The most common way a fresh adjuster is broken early is somebody pulling the loaded rack out by one corner. The load then hangs off a single wheel instead of four, and that is the moment the axle is under the most stress it ever sees. Two hands, square, both sides at once.
Set the height and then leave it alone. The adjustment mechanism is the moving part in an assembly that is otherwise static, and every change up and down works the same joints that eventually break. Decide which height suits how you actually load the machine, set both sides, and stop touching it.
If you have replaced adjusters more than once on the same machine, mention it when you book — a rack that keeps eating them usually has a worn rail underneath doing the damage.
When it is worth calling us instead
Three situations turn this from a Saturday job into a service call.
The rail is damaged, not just the adjuster. Rails mount to the tub wall and a bent or detached rail is a different job with different parts.
The rack has been running on a broken adjuster for a long time. Metal riding on a plastic rail wears it, and the wear is often the reason a correctly fitted new adjuster still does not sit right.
You cannot pin down the model number, or the part you ordered does not match. We carry the common assemblies and can identify yours from the plate.
And if the rack is level and the top of the load is still coming out dirty or wet, that is not a rack problem any more — it is a spray arm, a filter, a water temperature or a rinse aid question, and it is worth a proper look.
Have ready when you call: the model number from the door edge, which side has dropped, and whether the rack still rolls on the rails at all.
Independent KitchenAid service across Miami-Dade, Broward and Palm Beach. We are not affiliated with, authorized by or endorsed by any manufacturer.
If it turns out to be a repair
What this leads to, and what it costs
Every job on this site is priced the same way: an on-site diagnostic first, the figure agreed in writing before anybody starts.
-
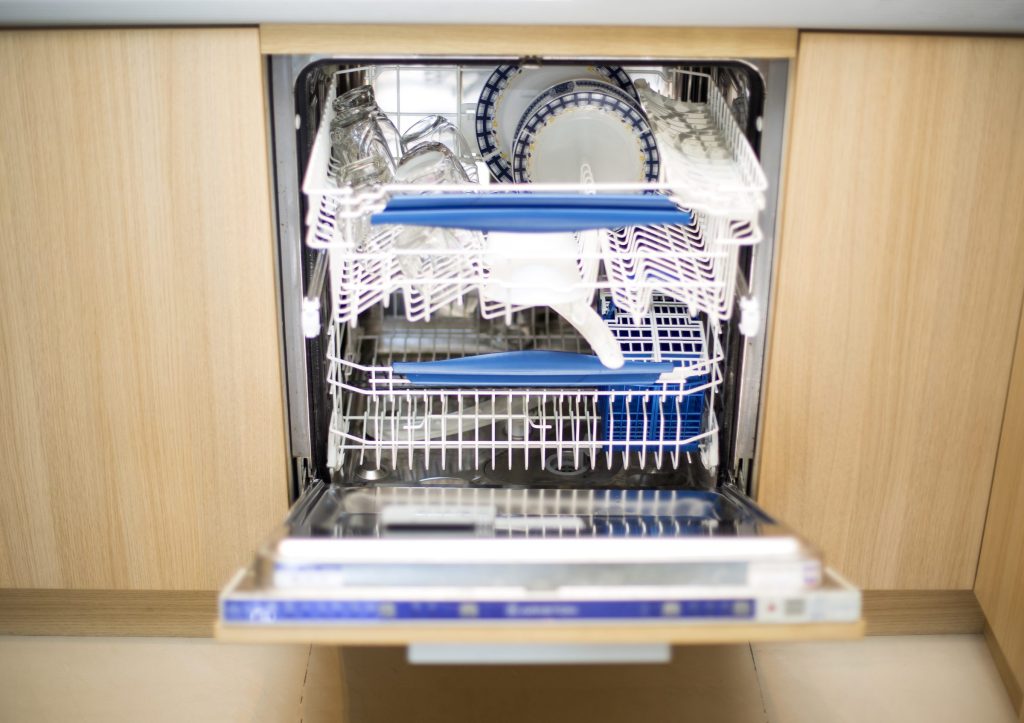
Integrated control · Front control · Third rack · ProDry · 24" · 39–44 dBA Dishwashers
The appliance this name means in a kitchen, and the one that tells you the most before anybody arrives. A KitchenAid dishwasher with no display still reports its code — it flashes it on the Clean light, in two bursts, and those two numbers are a diagnosis you can read from across the room before anybody opens anything.
- The Clean light blinking a set number of times, over and over
- A cycle that finishes with water still standing in the tub
- Dishes coming out gritty, or coming out wet

Questions people ask about this
Can I just glue the broken wheel back on?
It will not hold. The part failed because years of hot wash cycles made the plastic brittle, and an adhesive joint in that same environment carrying that same load lasts days. The assembly is inexpensive and it is the right answer.
Do I have to replace both sides?
You do not have to, but we would. The two adjusters are the same age, made of the same plastic, and have been through the same number of cycles. When one axle has gone brittle enough to snap, the other one is not far behind, and doing the job twice costs more in irritation than the second part costs in money.
My KitchenAid dishwasher is not cleaning the top rack.
Check the height of the rack first, because a rack sitting low on one side can foul the upper spray arm or block the feed to it. After that it is the usual list: the upper spray arm turning freely and its holes clear, the filter in the tub floor, tall items blocking the arm, and whether the machine is getting hot water. A dropped rack is a genuinely common cause and it is the one nobody thinks of.
The top rack is not drying.
Usually not the heater. These machines dry with a fan and residual heat rather than by baking the load, so start with the rinse aid reservoir, then look at how plastics are stacked — anything with a flat upward face holds a puddle no drying system can remove. Check the cycle that ran actually includes the drying option. All three are free.
Was there a recall on these adjusters?
Not that we can point you at, and we would rather say so than repeat something we have not verified. What is not in doubt is that the part is a known weak point: replacement adjusters and their clips are among the most-searched KitchenAid dishwasher parts there are, which is not what happens to a component that only breaks when somebody mistreats it. Today it is an ordinary parts-and-labor repair either way. If you want to check whether your model was ever covered by anything, the manufacturer's own site is the place — not ours, and not a parts blog.
Common Problems
More guides like this one
-
KitchenAid Refrigerator PO Code: What It Means After a South Florida Outage
PO is not a failure. It is the cabinet telling you it lost power long enough for the freezer to get warm, and asking somebody to acknowledge it. The decision it is really asking you to make is about the food.
Read more -
KitchenAid Microwave Not Heating: Why Everything Else Looks Normal
The turntable turns, the light is on, the fan runs, and the food is cold. That is exactly what this failure looks like, because the heat comes from a circuit that shares nothing with any of it — and that circuit is the reason this page has no checklist.
Read more -
KitchenAid Oven Not Heating After Self Clean: The Hardest Hour It Ever Has
It is the most predictable service call there is and the one people are most surprised by. A high-heat cleaning cycle takes the cavity far hotter than cooking ever does, and the latch, the element and the control are what give out under it.
Read more
Tell us the model number and what it is doing.
This article is based on:
- Official manufacturer documentation
- Internal repair procedures
- Technician repair history
- Company quality standards